

 By
By Introduction
Digital cameras capture the moments that matter most, which makes having a clear, functional camera screen essential. Whether dealing with scratches, cracks, or flickers, these screen issues can hinder your ability to get the perfect shot, but they are often fixable with basic DIY methods. This guide will walk you through practical steps to repair common camera screen problems, keeping your camera in top shape.
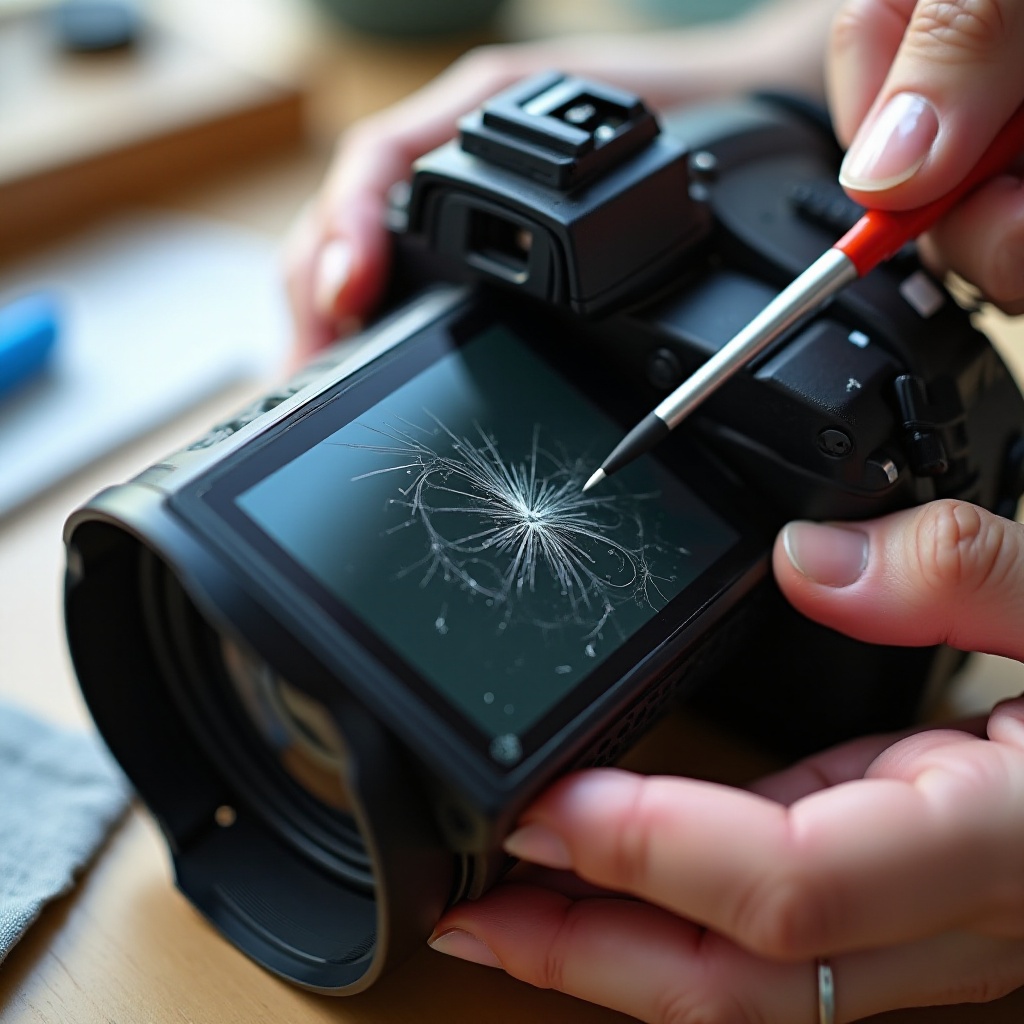
Understanding Camera Screen Issues
Before diving into the fixes, it’s important to understand the types of damage your camera screen might have. Knowing the specific problem helps in choosing the right repair technique.
Identifying Types of Damage
- Scratches: These are usually caused by friction and can distort viewing.
- Cracks: Often result from accidents and might affect functionality.
- Flickering/Glitches: Technical malfunctions that can obstruct the display.
Common Causes of Screen Problems
Screen problems arise due to various reasons such as accidental drops, exposure to harsh conditions, or even just from wear and tear over time. Once you identify the issue and its likely cause, you can select an appropriate repair strategy.
Tools and Materials Needed for Repairs
Gathering the right tools is a crucial step in the repair process. Ensure you have everything you need before starting to avoid any interruptions.
Basic Toolkit for DIY Repairs
- Microfiber cloth
- Isopropyl alcohol
- Screen polish or paste
- Small Phillips screwdriver
Optional Tools for Advanced Fixes
- Screen replacement kit
- Anti-static gloves
- Plastic pry tools
Having these tools at hand enhances efficiency when dealing with different types of screen damage.
Repairing Scratches on Your Camera Screen
Scratches can be superficial or deep, but many can be effectively minimized or removed completely with the right approach.
Preparing the Screen for Repair
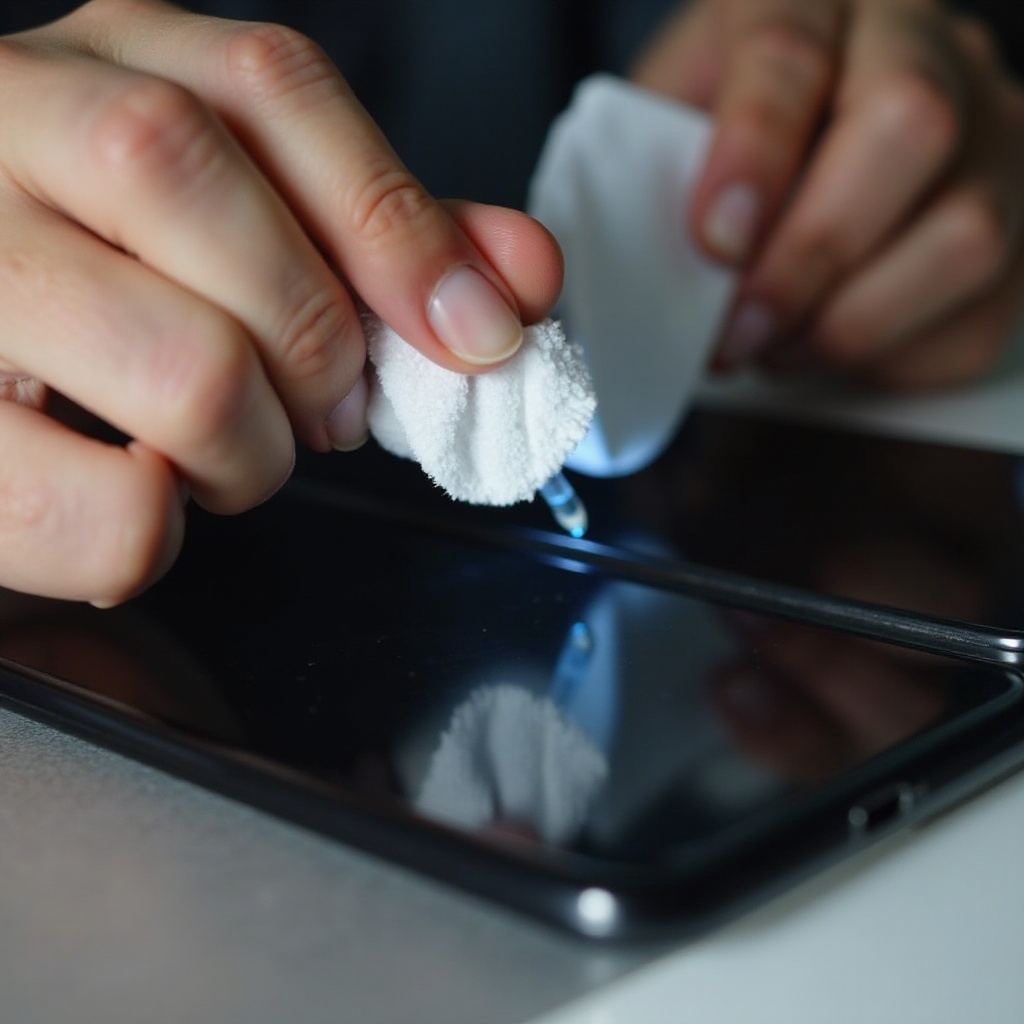
Before you start any repair, make sure your screen is clean. Use a microfiber cloth lightly moistened with isopropyl alcohol to remove dirt and oil. This makes the scratches more visible, so you’ll know exactly where to focus your repair efforts.
Step-by-Step Scratch Removal Process
- Apply Screen Polish: Use a small amount applied evenly across the scratched area.
- Buff the Surface: Gently rub the polish using a microfiber cloth in circular motions. Be patient and don’t apply too much pressure to avoid further damaging the screen.
- Clean and Assess: Wipe off excess polish and check if the scratches have diminished. Repeat the process if necessary for deeper scratches.
Following these steps can help restore the screen’s clarity significantly.
Fixing a Cracked Camera Screen
Cracks can be daunting, but with careful handling, you can effectively fix or replace a cracked screen.
Deciding Between DIY and Professional Repair
- DIY Repairs: Good for minor cracks and when you’re equipped with the right tools and some technical know-how.
- Professional Repair: Recommended for large or multiple cracks, or if your camera is under warranty.
Safe Screen Replacement Procedure
- Backup Essential Data: Ensure all important data like photos are secured.
- Disassemble the Camera: Use a small Phillips screwdriver to remove the screws, then carefully detach the screen using plastic pry tools.
- Replace the Screen: Follow the instructions with your replacement kit to safely install the new screen.
- Reassemble the Camera: Align all parts correctly and secure them with screws.
Once the new screen is in place, turn on your camera to ensure everything works correctly.
Addressing Screen Flickering and Glitches
A flickering screen can be both annoying and problematic, but it often points to simple fixes related to software rather than hardware.
Restarting and Resetting Your Camera
Restarting the camera can sometimes resolve temporary display issues. If flickering persists, consider resetting to factory settings after ensuring your data is backed up.
Updating Camera Firmware
- Check for Firmware Updates: Visit the manufacturer’s website for updates.
- Install Updates: Follow the instructions to update your camera to resolve any software glitches.
Regular firmware updates not only fix bugs but can also improve overall camera performance.
Cleaning and Maintaining Your Camera Screen
Regular cleaning and maintenance are key to preventing screen issues before they start.
Proper Cleaning Techniques
- Use Microfiber Cloths: These are gentle on screens and minimize the risk of scratching.
- Avoid Harsh Chemicals: Stick to camera-specific cleaning solutions to avoid damaging the screen.
Preventative Maintenance Tips
- Apply Screen Protectors: These protect against additional scratches and impacts.
- Store Your Camera Safely: Use a padded camera bag for protection against environmental factors.
Implementing these tips ensures your camera stays in good working order, helping you achieve clear and pristine images every time.
Conclusion
A functioning camera screen is crucial for any photography enthusiast. By performing regular maintenance and having the right tools on hand, you can resolve common screen issues yourself. With these guidelines, maintaining your camera screen has never been easier, keeping your shots picture-perfect.
Frequently Asked Questions
Can I fix a cracked camera screen myself?
Yes, but it’s best for minor cracks if you’re experienced with electronics. For severe damage, professional repair is advisable.
What should I do if my camera screen keeps flickering?
Restart your camera, update its firmware, and if necessary, reset it to factory settings after backing up your data.
How often should I clean my camera screen?
Ideally, clean your screen after each significant use or at least once a month to prevent grime build-up and scratches.